Replacing aluminum radiator tubes can seem daunting. However, with the right knowledge, you can do it at home. Understanding how to replace an aluminum radiator tube at home is crucial for maintaining your vehicle's efficiency.
This guide will provide you with practical tips. Each step is designed to simplify the process. Home mechanics often overlook basic tools, which can lead to frustration. Make sure you have a wrench set, screwdrivers, and sealant ready. Pay attention to safety while working on your car.
Experience is key when tackling radiator repairs. Some may find this task easier than expected. Others might run into challenges, such as tight spaces or stubborn fittings. Reflecting on what went wrong can lead to solutions. Embrace the learning curve. With patience and practice, you can successfully replace aluminum radiator tubes and boost your vehicle's performance.
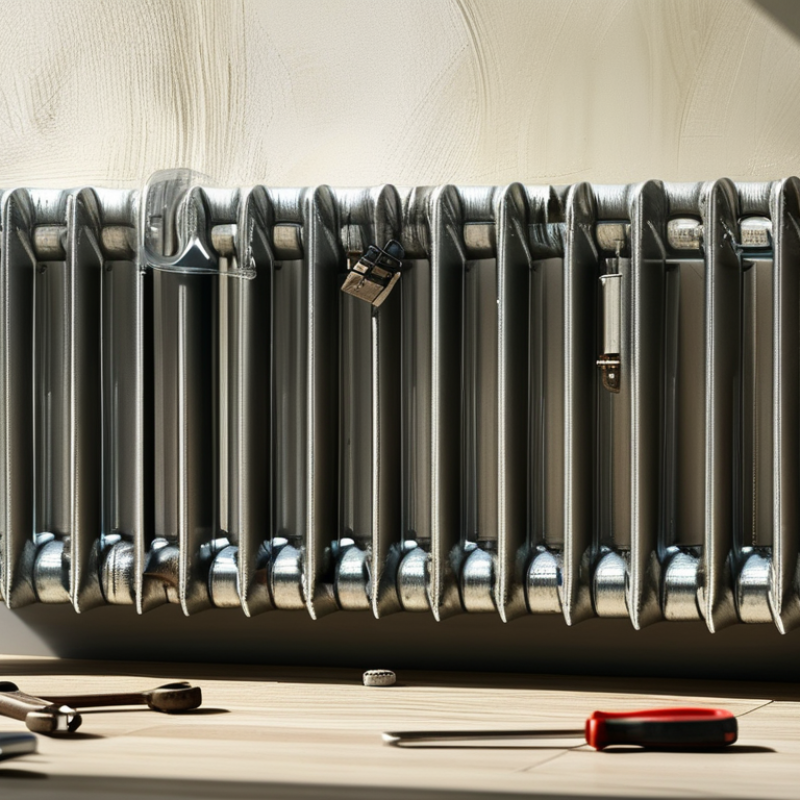
When replacing aluminum radiator tubes at home, having the right tools and materials is crucial. Start with a standard wrench set and pliers; these will help you tighten or remove fittings. A cooling system pressure tester is also beneficial. It allows you to check for leaks after repairs.
Don't forget protective gear. Safety goggles and gloves are key to avoiding injury. In addition, use a container to catch old coolant. A funnel can help when refilling new coolant. The right materials will ensure a smooth process.
Before starting the replacement, it's wise to prepare. Checking for the right tube size can save you time. Look closely for damages. Sometimes, you might find corrosion that requires further attention. Always consult a guide or diagram for your specific vehicle model. This will help prevent errors. Keep in mind that not every step will go as planned, and that’s okay. Adjusting your approach is part of the learning process.
Removing old aluminum radiator tubes can be a challenging task, but it's doable. Start by ensuring the area is well-ventilated. You’ll want to have a few basic tools ready, including a wrench, pliers, and a bucket to catch any leakage. Turn off the heating system and let the radiator cool completely. This step is crucial for safety.
Once you're prepared, locate the nuts that attach the tubes to the radiator. Applying some penetrating oil can help loosen any rusted or stubborn fittings. Gently twist the nuts with the wrench, being careful not to apply too much force. If the nuts are too tight, take a moment to reassess. Sometimes, it’s easier to cut the tubes instead. After removing the tubes, check the fittings for any residue that might obstruct the new installation.
As you proceed, keep in mind that old tubes may have built-up debris. This can affect performance when installing new tubes. Take the time to clean the fittings thoroughly. It’s tempting to rush through this step, but a thorough clean can make a significant difference. Measure the lengths of the new tubes accurately before installation. Mistakes in measurement can lead to frustrating and costly errors.
Replacing aluminum radiator tubes can be a challenging task. To ensure a secure installation, several important factors must be considered. Start by gathering all necessary tools. A proper wrench set, clamps, and a cleaner for the surfaces will make the job smoother. It is essential to work in a well-lit area. A clean, well-organized workspace helps prevent mistakes.
When installing the new tubes, take your time. Carefully align each tube before securing it. Over-tightening can damage the aluminum. A gentle, even pressure is best. Use quality clamps to secure each connection. Check for leaks after the installation. Small gaps can lead to bigger problems down the line. Don’t rush this step; your patience will pay off.
In some cases, old tubes may appear fine on the surface but are still compromised. Inspect thoroughly for corrosion or signs of wear. These hidden issues can cause unexpected failures later. If you find any, take a moment to reflect on the importance of addressing them early. It's better to replace a tube now than to deal with serious cooling issues later on. Let your experience guide you, and always aim for a reliable installation.
| Tip Number | Tip Description | Estimated Time | Tools Required |
|---|---|---|---|
| 1 | Gather all necessary tools and materials | 30 minutes | Wrench set, Pliers, Screwdriver |
| 2 | Drain the coolant from the radiator | 20 minutes | Coolant container |
| 3 | Remove the old radiator tubes | 15 minutes | Socket set |
| 4 | Clean the radiator connection points | 10 minutes | Cleaning brush |
| 5 | Install the new aluminum radiator tubes | 25 minutes | Adjustable wrench |
| 6 | Secure the tube connections using clamps | 15 minutes | Screwdriver |
| 7 | Refill the radiator with coolant | 15 minutes | Coolant container |
| 8 | Start the engine and check for leaks | 10 minutes | None |
| 9 | Test drive to ensure proper function | 30 minutes | None |
| 10 | Regularly check the radiator system | Ongoing | None |
Replacing aluminum radiator tubes can be a challenging task. Many DIYers make mistakes that can lead to larger issues. One common mistake is not fully draining the cooling system before starting the replacement. According to industry reports, nearly 30% of home mechanics encounter leaks later because of trapped fluids. This oversight can lead to engine overheating or radiator damage.
Another frequent error is using incorrect tools. Lack of suitable tools can result in damage to the radiator. Reports indicate that over 25% of radiator replacements fail due to improper installation, often because of inadequate tools. It's essential to have the correct wrenches and clamps to ensure a proper fit. Not checking the manufacturer's guidelines can also increase the risk of improper installation.
Finally, sealing issues are often overlooked. Many skip applying thread sealant or use the wrong type. This may seem minor, but improper sealing can cause coolant leaks. In fact, approximately 20% of radiator issues stem from poor sealing. Attention to detail during installation is crucial for longevity. Mistakes may seem small but can result in significant repair costs down the line.
After replacing aluminum radiator tubes, testing for leaks is crucial. Start by filling the radiator with coolant. Inspect all connections carefully. Look for any signs of leakage. Small drips can indicate that a fitting is loose or damaged.
Use a pressure tester to maintain pressure in the system. Monitor the gauge closely. If the pressure drops, you may have a leak. Take your time during this step. Rushing could lead to missing a critical flaw.
Consider using a UV dye for a more thorough check. Add it to the coolant and run the engine. Use a UV flashlight to spot any leaks. Remember, even tiny leaks can cause overheating. Learning from any mistakes in this process helps improve your skillset for future repairs. Always keep a log of what worked and what didn’t. It’s about refining your approach.
: A standard wrench set, pliers, and a cooling system pressure tester are essential for the task.
Safety goggles and gloves protect against injury while handling potentially hazardous materials.
Measure the old tube and consult a guide specific to your vehicle for accurate sizing.
Address hidden corrosion early to avoid unexpected failures in the cooling system later on.
Align each tube carefully and use quality clamps, applying gentle, even pressure without over-tightening.
Checking for leaks ensures there are no loose fittings, preventing future cooling problems or engine overheating.
Fill the radiator with coolant, maintain pressure, and monitor the gauge closely for any drops that indicate leaks.
UV dye helps detect small leaks that might not be visible, offering a thorough check of the system.
Keep a log of your experiences, noting what worked and what didn’t for future reference and improvement.
Reflect on the situation. Adjusting your approach and learning is part of the repair process.
Replacing aluminum radiator tubes at home can seem daunting, but with the right guidance, it becomes manageable. To begin, gather the necessary tools and materials, including wrenches, a screwdriver, and replacement tubes. The step-by-step procedure involves carefully removing the old tubes, paying attention to any potential damage to surrounding components.
When installing new aluminum radiator tubes, ensure they are fitted securely to prevent leaks. It's important to be aware of common mistakes, such as over-tightening connections or failing to properly align the tubes. After installation, testing for leaks is crucial to confirm that the replacement is successful. By following these tips, you'll gain a clear understanding of how to replace an aluminum radiator tube at home effectively.

Rock Auto